Design your own art project- Sculpting/ mask making
|
|
|
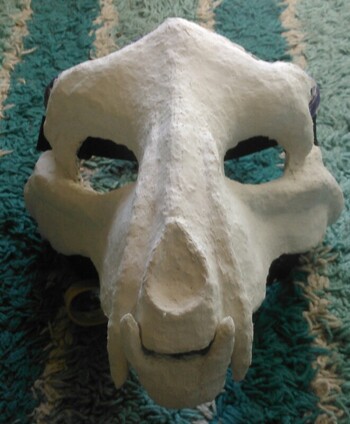
Project description- I started making my mask by building off of an old raptor mask I painted from target. Working on this project there was a whole lot of trial and error. After doing research on how to work with air dry clay I started shaping the top half of the face. I wanted to let that part dry first so I let it dry with a damp rag on the face to reduce cracking. It cracked anyway and after many times of repairing the clay it was drying all the way through and just falling off in chunks. As a result of this I decided to restart the mask and scratch up the base to help the air dry clay stick and put a bag over it to stop cracking instead. This also did not work, but merely slowed down how fast it was cracking, so me and my friend looked up a video on how to make paper mache clay. She had found the video previously so we just watched it together to see if that might work. After watching the video I decided that I would use the recipe she gave as they were fairly simple things you could get at Walmart. I didn't want the mask to be as heavy as the pre attempts were with air dry clay so I sculpted the base with tinfoil and made the shape I desired. I found that doing this gave me a lot more creative freedom with how I wanted it to be shaped. In the process I also didn't know what to do about the teeth from the original mask that would affect the shape if I just covered them up. So I took a minute to test different things and realized they were not completely solid hard plastic but more bendy and soft. With this information I just started to cut them off slowly but surely. After being able to finish the tin foil base I started to make the paper mache clay. I applied the clay in a thin layer first and slowly made it thicker to hide bumps from the tin foil. I had to wait until the top half, on the first layer, dried before working on the bottom part or fixing any leftover indents or bumps. After letting the first layer dry I went over and made everything as smooth as possible and started to put the first layer of the clay to the bottom jaw. Once the first layer dried the next day I put the second layer to smooth out the clay and it dried a lot faster being the second coat. I later plan to add more teeth, sand it down a bit, add mesh to the eyes, and also paint/carve little details into the mask. Overall really happy I had to restart a few times because I am now really happy with how this mask is coming along.
Project reflection- I chose to create this mask for my project as it’s something I've wanted to work on for some time. I figured it would be a great opportunity to work on it and learn more about the medium I wanted to work in. Although it is not completely finished yet as I plan to fix it up and add more detail I feel I grew a lot as an artist and learned a lot during this project.I feel through this process I learned that it is absolutely okay to restart on a piece of art if you are not happy with it or things didn’t go according to plan. I also learned how to sculpt with tin foil, make paper mache clay, different techniques for working with air dry clay and more.
Project reflection- I chose to create this mask for my project as it’s something I've wanted to work on for some time. I figured it would be a great opportunity to work on it and learn more about the medium I wanted to work in. Although it is not completely finished yet as I plan to fix it up and add more detail I feel I grew a lot as an artist and learned a lot during this project.I feel through this process I learned that it is absolutely okay to restart on a piece of art if you are not happy with it or things didn’t go according to plan. I also learned how to sculpt with tin foil, make paper mache clay, different techniques for working with air dry clay and more.
Doodle For Google Project
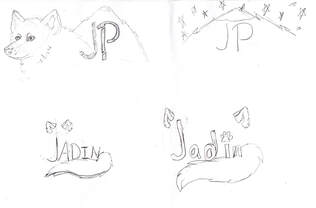
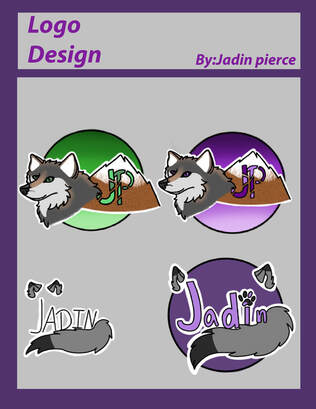
Logo Design Project
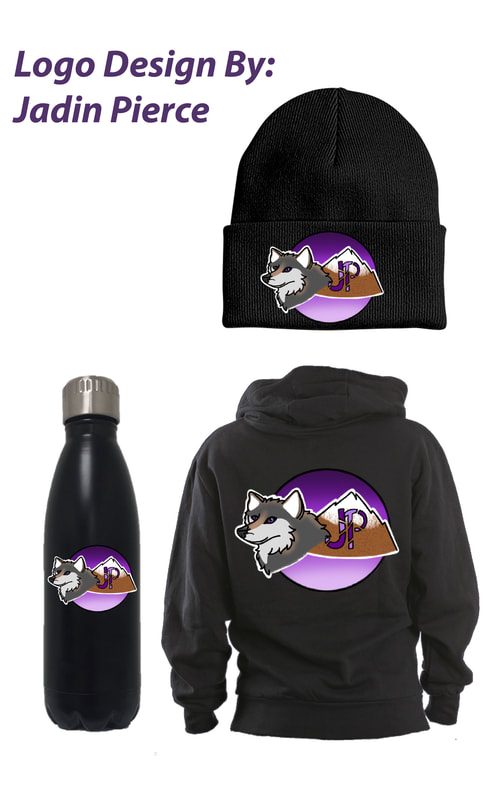
I first started with the sketch on paper and went on to scan them to the computers. After getting it on the computer I needed to trace over the sketch to clean it up (also add color.) Once the designs were done we did critique and chose the best ones to put on a client sheet. Lastly I moved on to putting my favorite design on different types of merchandise.
|
|
Teacher Creature
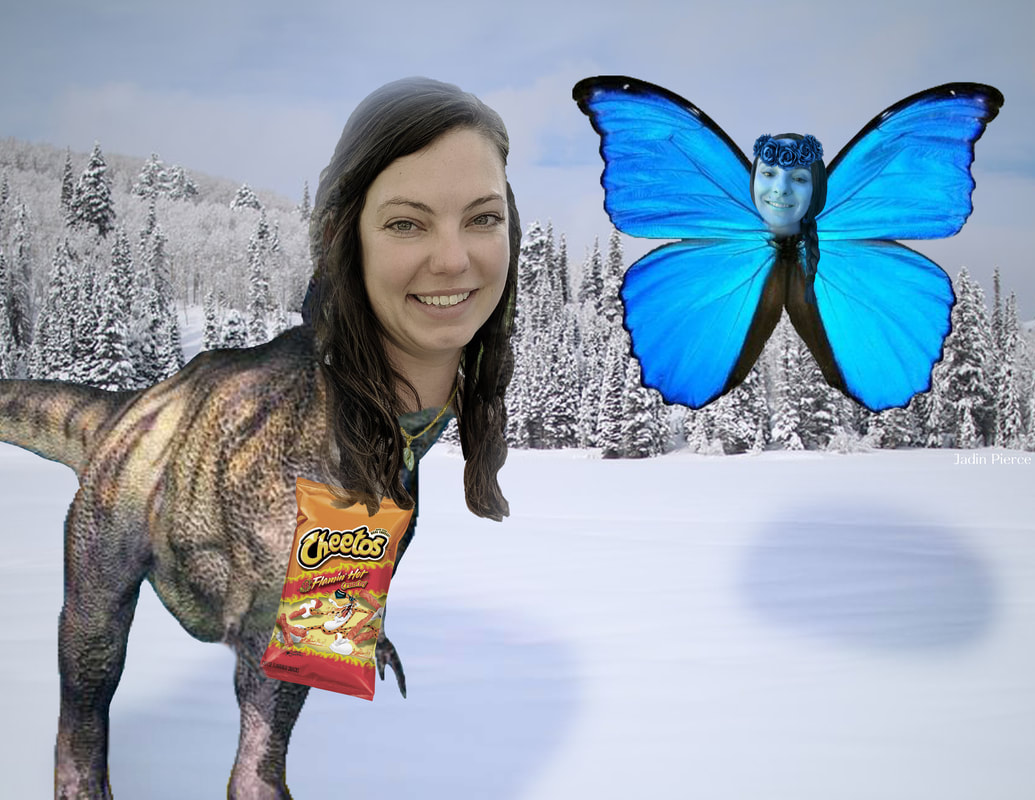
Final Product Above
|
Original Images Above
|
Headers Project
|
Original image:
|
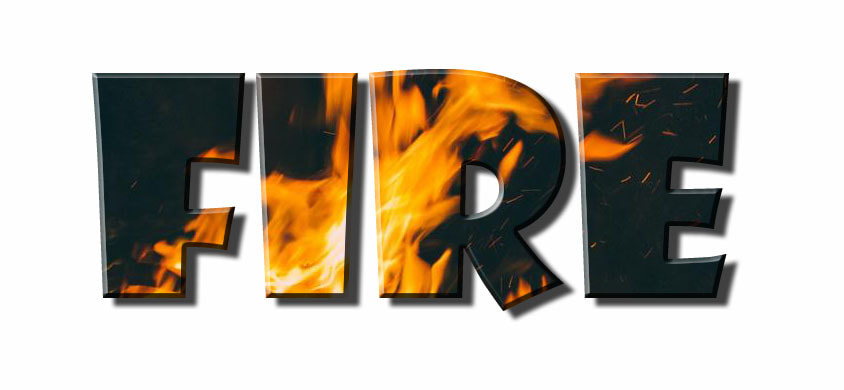
Finished Product:
|
|
|
|
Original image:
|
Finished Product:
|

|

|
|
Original image:
|
Finished product:
|
|
|
|
Original image:
|
Finished product:
|

|
|
|
Original image:
|
Finished image:
|
|
|
Photoshop tutorials
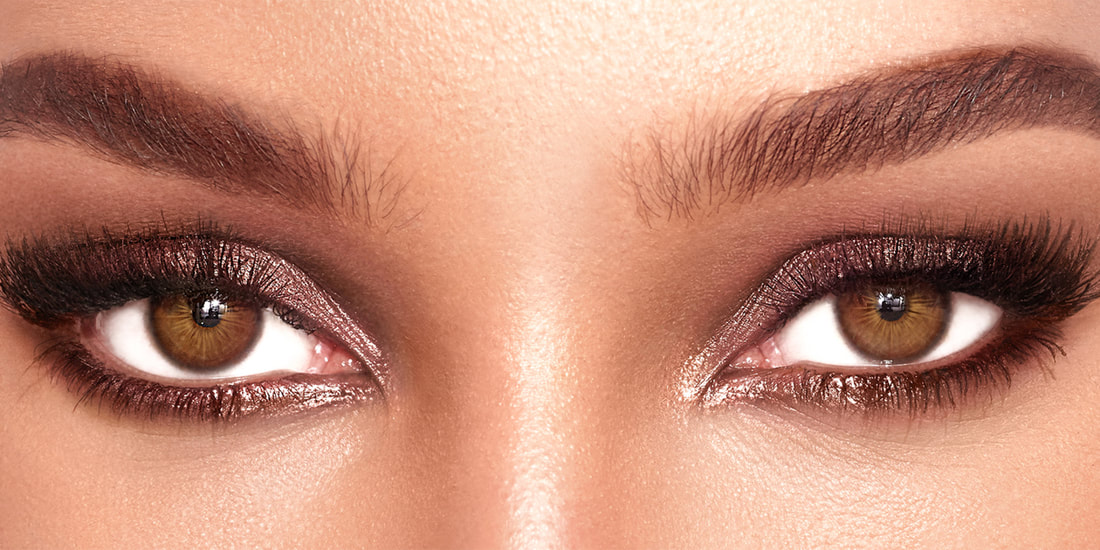
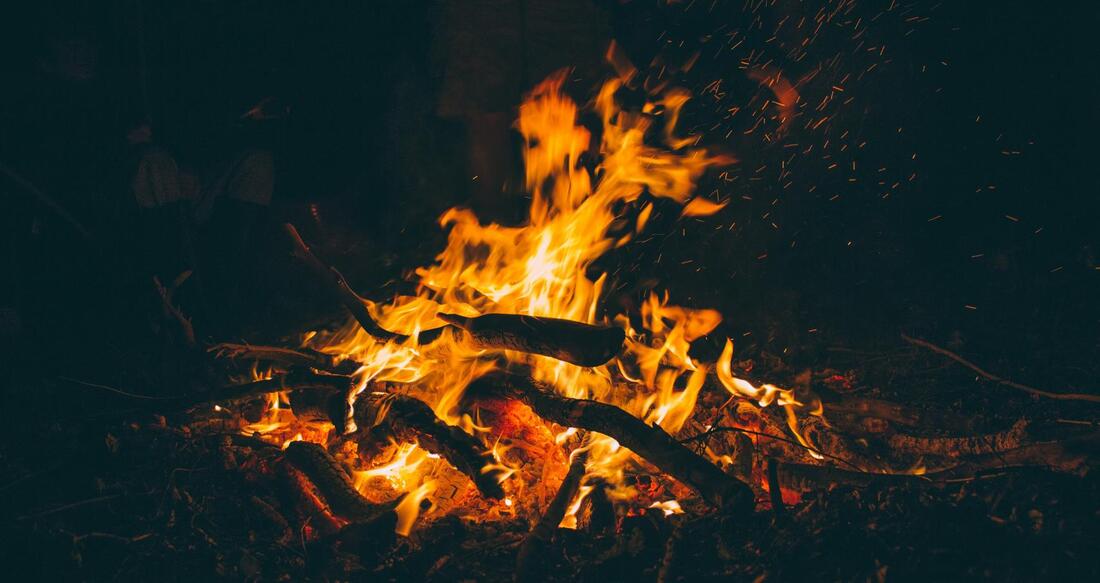
Original
|
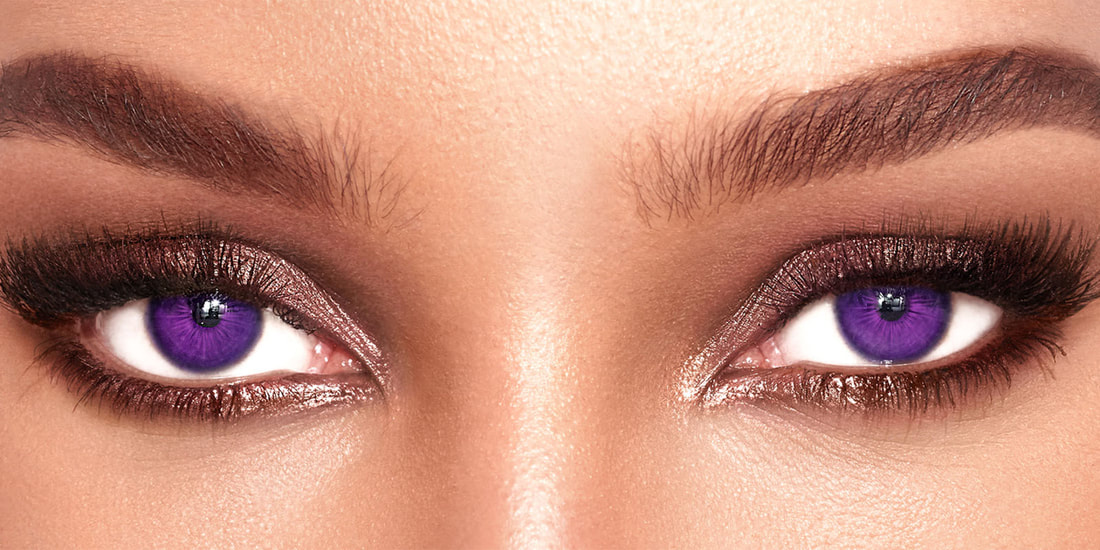
Photoshopped
|
Selecting the section of the eye I wanted to change color and pressing Ctrl+U then selecting the color I wanted and making the other one identical color.

Original |
Photoshopped |
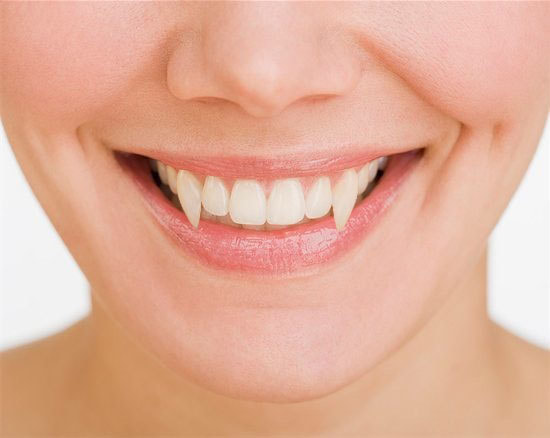
First I made the selection around the tooth I wanted to make vampire looking, Then I added a new layer for "layer via copy" After I went to edit "transform" then "warp". Then I warped it to the vampire tooth shape.
Original |
Photoshopped |
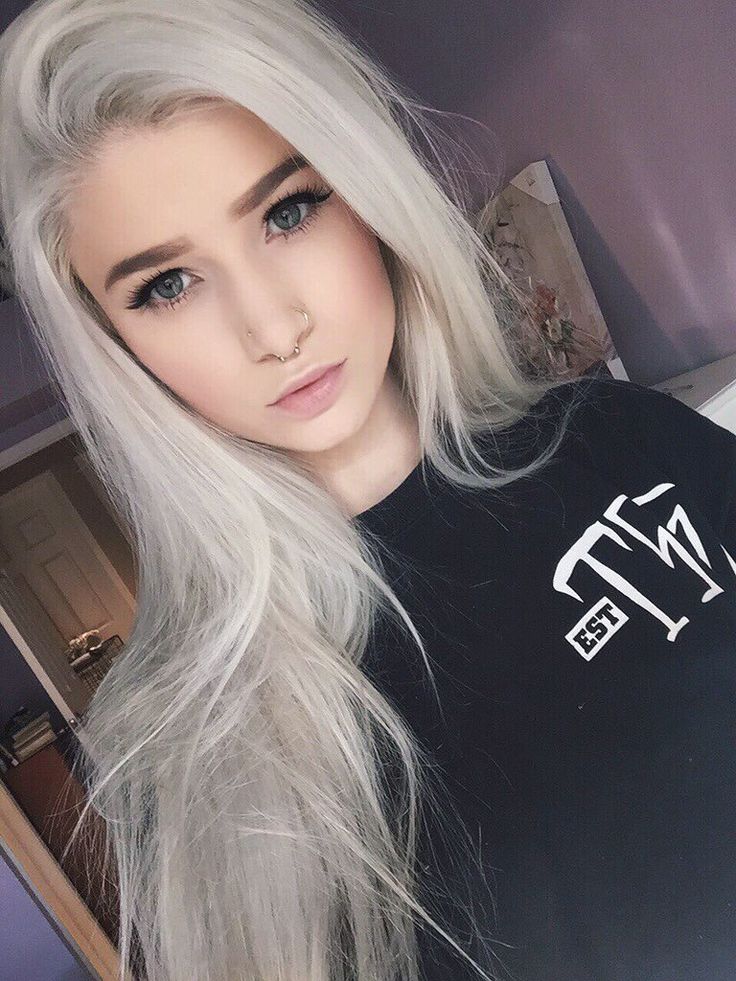
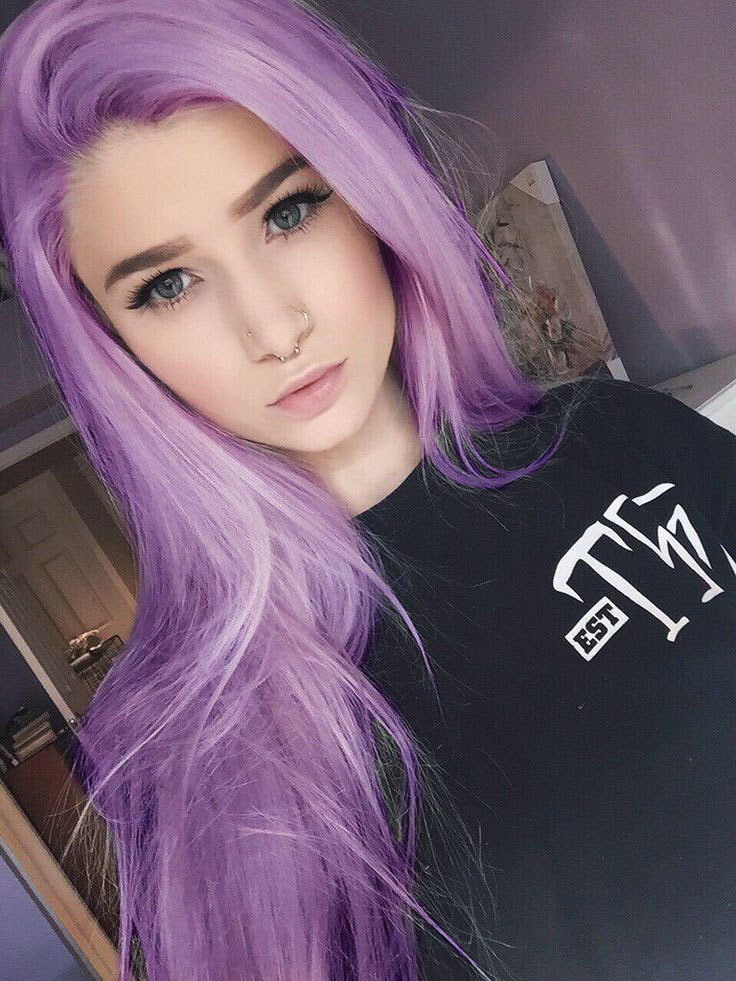
Added a new layer set the layer to "overlay" set my brush to soft and colored in her hair the color I wanted.
Original |
Photoshopped |
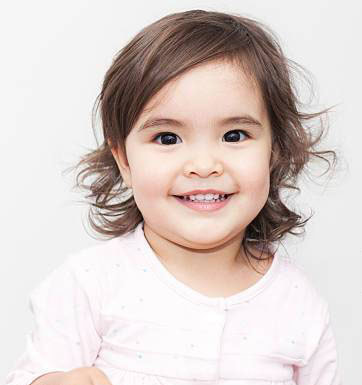
Original |
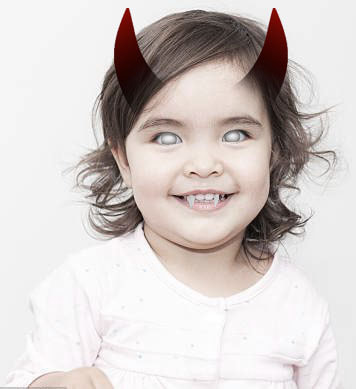
Photoshopped |
For the eyes and teeth I did the same thing as described on the other projects above dedicated to the practice tutorials. Then desaturated the image to make everything look more pale and after added a separate image from google and "blended" them.
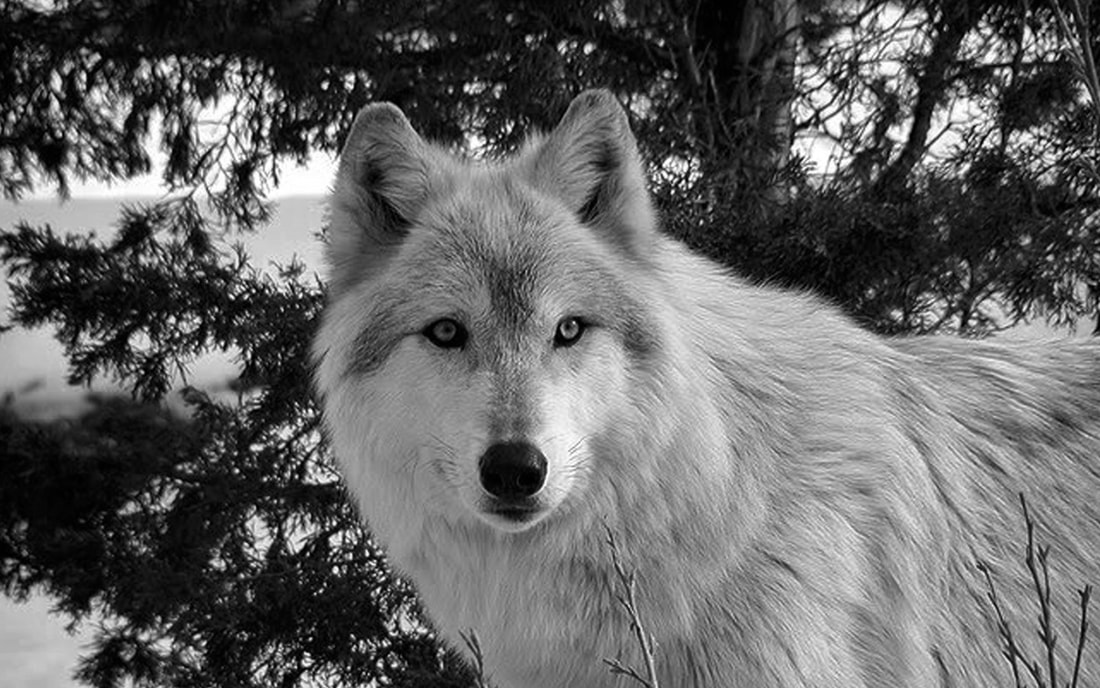
Original |
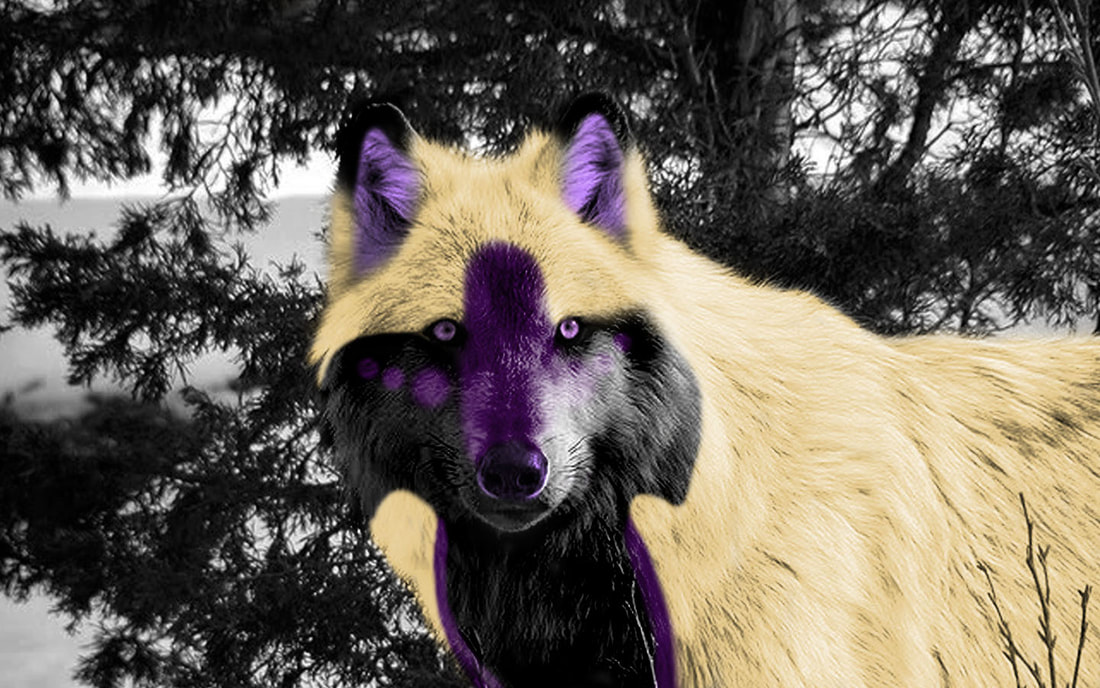
Photoshopped |
